|
FLIR
Blackfly®S BFS-GE-16S2-BD2 |
Installing Your Blackfly S
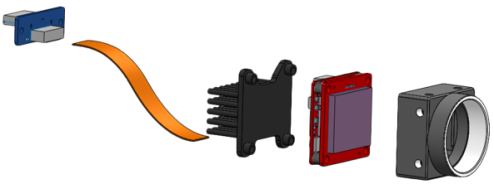
1. Install the lens mount.

|
The board-level models can use C-mounts, CS-mounts, or S-mounts. |
2. Install a heat sink.
|
|
A heatsink is recommended but depends on your design and usage. |
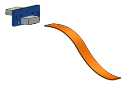
3. Connect the FPC cable to the panel mount adapter then connect the adapter to the interface card.
|
|
4. Attach a Lens
5. Plug in the GPIO connector if required
GPIO can be used for power, trigger, serial input output, and strobe.
6. Confirm Successful Installation
When the camera is first connected, the operating system automatically installs the camera driver. Camera drivers are available with the Spinnaker SDK installation.
Run the SpinView application: Start->All Programs-> Point Grey Spinnaker->SpinView
The SpinView application can be used to test the camera's image acquisition capabilities.
Changes to your camera's installation configuration can be made using the SpinView application.
| 8/13/2018
© 2015-2018 FLIR® Integrated Imaging Solutions Inc. All rights reserved. Legal | Contact Support | Cookie Policy |
Blackfly®S BFS-GE-16S2-BD2 |
|
